


Winter is the perfect time to get some indoor projects organised and brighten up your day with a splash of fresh colour on your walls. Starting out with home improvement projects can be a little scary, so to get your walls looking fab in no time we put together a step-by-step guide.
To us it doesn’t matter if you are a complete newbie or have been swinging the paintbrush for decades, we got all the tools you will need to get your dream coat of paint on the wall.

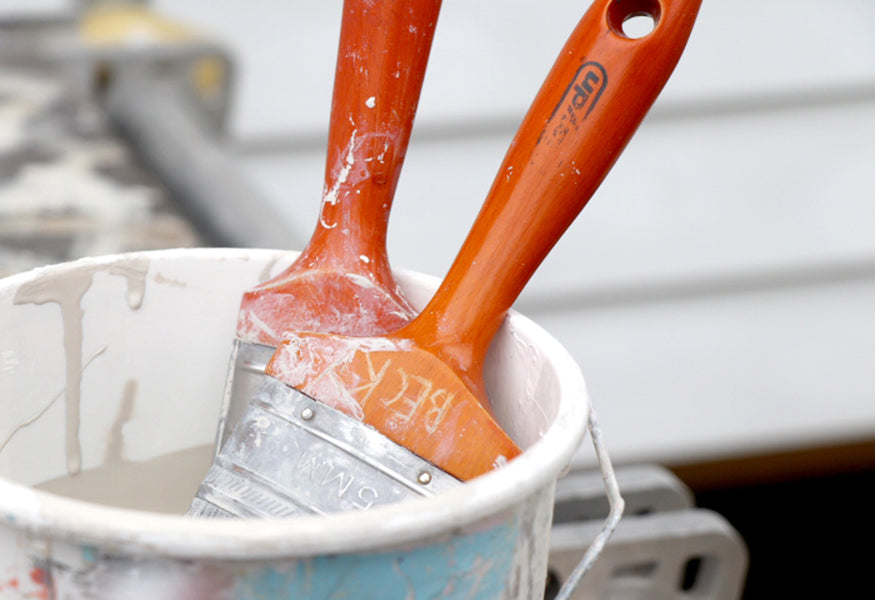
 Step 1
Prep Work – Masking
To get a nice and clean finish it is essential to invest some time in a tidy prep. Not everyone is a master at cutting in and learning these skills can take years of regular painting work. Sticking down some Masking tape will help you create nice sharp outlines and keep paint away from door frames and windows. Placing a drop cover across the floor will mean less worrying about paint spills and drops hitting your comfy carpet as you go.
Tip: Make sure the masking tape is pressed down well. To avoid bleed through paint, a thin bead of caulk can be spread along the edge of the tape where it meets the surface that will be painted.

Step 2
More prep - Spackling
After getting the frame work done, it’s important to have a close look at the walls next. Are there any holes that need filling? Is there a lot of old paint still on the wall? Depending on the state of your wall this step might be more or less time consuming. Grab some spackling and a scraper to fill in any holes, be prepared for the filler to sink down a bit as it dries and two coats likely to be needed. Most Spackling offers quick dry ranges too so there’s less time wasted before the first coat of paint/ primer can be painted on top.


Step 3
Sanding
Once the Spackling dries up, the walls will likely need to be sanded down. Use sanding blocks and sandpaper for smaller areas or invest in a radial sander paired with an extension pole for a quick sand down of large sections.
All prep work needs to be finished with a thorough dust off and wash down with sugar soap to remove dirt, grease and smoke stains.
TIP: If there’s any mould present, treat the effected area with an anti-mould product The cleaner the walls the better your finished paint job will look.
Step 4
Prime Time
If the previous coat was a lot darker than the new tone the sanding should be followed by applying a primer first before moving on to two top coats. Note: Some sealers do not require previous sanding and can just be applied straight onto the old paint. Zinsser offers a couple of great options here. The Zinsser B-I-N Primer Sealer for instance will permanently block stains, odours and wood knots from coming through or try our most popular primer the Rust-oleum Zinsser Bulls Eye 1-2-3 Water-Base Prime. This premium, whole-house primer-sealer provides outstanding performance indoors and out, with low odour, great flow and levelling and a flexible, acrylic formula.

Step 5
The touch of a brush.
Painting the corners and hard to reach areas is best done with a smaller sized paint brush to cover the edges and up to a part of the wall that can easily be reached with a mini roller or standard/large roller. Cutting in takes a lot of practice and will take a lot of time when you first start out. If the paint seems to dry too quickly before you have time to get back around with the roller aim for a smaller section or do cutting in for one wall at a time to avoid ending up with a frame effect as the walls dry.

Step 6
Let the good times roll
Once the edging is complete it’s Roller time. Rollers are great and super handy to cover large areas in just a few minutes. Depending on your walls and materials the Haydn range offers many different sleeves to give you the best possible coverage paired with a spray like smooth finish.
Step 7
Second Coat
Apply a second coat of paint to cover up any uneven areas and get the full colour experience.

Step 8
The Finish line
Take off the masking tape once the paint has had time to settle a bit but before the final coat is completely dry to avoid damage to the finished walls. Once the final touch ups are done give the room a good clean and some time to air out.
Move in your furniture and enjoy your new room full of colour.
There is nothing more exciting than living in your newly painted house!
VIEW THE COMPLETE HAYDN PRODUCT RANGE HERE
Available from all leading paint and hardware stores.
Can’t find it? Ask Haydn at www.haydn.co.nz to
direct you to your closest stockist.