


Spring has finally started making an appearance in beautiful New Zealand and what could be better than enjoying the sun and getting your backyard ready for some long-awaited catch ups.
To get your outdoor furniture looking their absolute best after a harsh winter, we put together a handy step by step guide.

Give your furniture a thorough dry brush to get rid of any spider webs and dirt sticking to it.
2. Anti Mould treatment / Cleaner application

Depending on the state of your furniture this step might need to be repeated to get rid of all the mould. Mix your cleaning solution in a spray container and put on all necessary PPE gear to keep yourself protected while working with harsh chemicals.
Spray the solution on all areas of the table, including the legs and bottom of the top. Keep the table wet for the time advised on your chosen product. For us this was 10 minutes.

3. Hose off the cleaner.
After the time is up, get the garden hose and water blast your table to get all chemicals and dirt off.
Tip: If you had placed your table on grass for the mould treatment, switch to a softer setting and soak the surrounding grass (that might have made contact with the chemicals during the application) with water to ensure no harm is done.

4. Scrub it
After the first water blast, grab a scrubbing brush and scrub every surface of your furniture piece. This way, we got rid of a thick layer of mould, dirt and grime that the cleaner had pulled to the surface. Always use the brush in line with the grain.
4 B. Repeat Steps 2-4
Our table was looking rather sad and two anti mould spray treatments followed by a thorough hose off and scrub, cleaned it up nicely. Leave your furniture to dry off completely before moving on to Step 5.
5. Sanding

A light sanding will get rid of any left over dirt and discolourations in the wood as well as smooth out the surface before applying the oil. Note: Always go with the grain when sanding!
6. Dust off. After all sanding is complete all furniture pieces need to be dusted off well and be kept dry and sheltered until the oil is being applied.
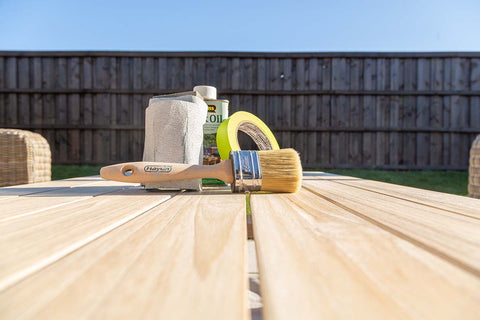
7. Oil up.

Choose your oil, stain or paint and follow the directions of use on the can. We chose a natural lightly tinted oil to apply to our table and get it looking shiny and new again. The oil needs to be stirred well and for outdoor furniture three coats are recommended.
Dry time between re-coats is 4-8 hours.

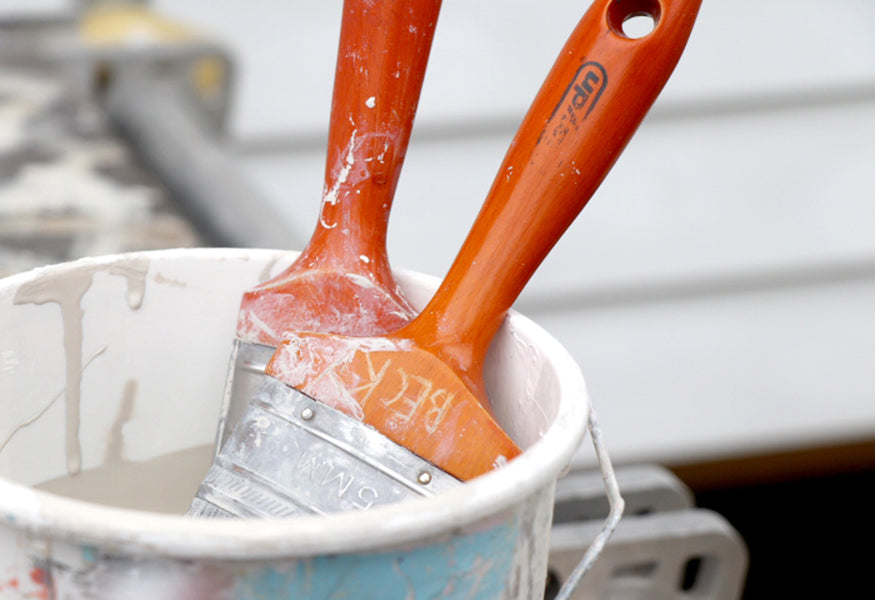
To protect your working space put down a Haydn Heavy Duty Drop Cloth, grab some Haydn Outdoor brushes in different sizes (the outdoor painting pad may also be suitable if you are working with very smooth surfaces) and a small paint bucket.
Now work your way all around your furniture piece in even strokes going with the grain to achieve a beautiful finish. Make sure you cover all sides of the legs, table top and sides to better protect your furniture and make your final result look great for longer.

8. Recoat as required
9. Enjoy your revived outdoor space and start the season with a BBQ with your mates.